Here is another one of my dried fruit & nut snacks. I love these type of snacks for a mid-afternoon quick snack or an after dinner snack to satisfy my sweet tooth! These are adapted from another blog online. Hope you like them!
Raw Date Truffles
Ingredients:
1 c. almonds
2 c. dried fruits (dates, raisins, plums, etc. - I used all dates because that is what I had)
1/2 c. dried black mission figs
1/4 c. shredded coconut and/or cocoa powder
Directions:
1. Add almonds and dried fruits (make sure to remove pits from dates) to a food processor and pulse until well blended. You want the mixture to be somewhat sticky so it will form easily into balls.
2. Roll about 2 Tbsp of the mixture into a ball and roll into either shredded coconut or cocoa powder. You can mix and match the coconut and cocoa powder however you like.
3. Keep refrigerated and enjoy!
I have these great, colorful small sweet peppers from Green Bean Delivery that I have been wanting to use. I also bought the ground turkey from Green Bean Delivery, I am glad I have a new source for ground turkey because they usually only sell Perdue brand at my local grocery stores!
If you haven't heard of Green Bean Delivery before, they service several cities in Indiana, Ohio, Kentucky, and Missouri and the neighboring areas. We are lucky enough to be in the delivery area for St. Louis, even though we are on the Illinois side. They will deliver local & organic groceries straight to your door! They have tons of produce and have been continually adding new items in Dairy, Nuts, Meats, etc. I was introduced to them a few weeks back, and feel their prices are comparable if not cheaper than what you will pay for organic produce and groceries at the grocery store. They are always doing referral promotions where if you sign up and name who referred you, you and the person who referred you can get $15 off your next order. Use promo code "Growing Season" and Referred by "Amy Head" if you are interested. www.greenbeandelivery.com The bins start from around $35.
Anyway, I boil these peppers for a couple of minutes before they are baked so the pepeprs are nice and soft, a common complaint with stuffed peppers...at least in my house :). I also added a little kick to the peppers, because we like it spicy...but if you don't, just use a regular low sodium marinara sauce and don't use as much cayenne pepper or substitute it with regular black pepper. Hope you like it!
Amy's Spicy & Sweet Stuffed Peppers
(serves 4)
Ingredients:
2 pints of small sweet peppers
1/2 yellow onion, chopped
2 cloves garlic, minced
1 Tbsp coconut oil
10 oz. mushrooms, chopped
1 lb. ground turkey
1/4 tsp cayenne pepper
1/2 tsp oregano
1/2 tsp basil
16-20 oz jar spicy organic (low sodium) marinara sauce
dash salt
1/2 c. shredded cheese
Directions:
1. Preheat oven to 400 degrees. Heat a large skillet to medium heat. Chop up onion and mince garlic.
2. When skillet is heated, melt coconut oil. Add in onion and garlic and cook a couple of minutes, or until onions start to become opaque. Meanwhile, chop up mushrooms.
3. Add in mushrooms and ground turkey and cook, stirring, until the ground turkey is completely broken up and cooked through. Add in oregano, basil, and cayenne pepper and 1 c. marinara sauce. Mix together and remove from heat.
4. Bring a medium pot filled with water to a boil. Wash peppers, cut off tops, remove seeds, and slice in half lengthwise.
5. When water begins boiling, add peppers to water and boil for about 5 minutes, to slightly soften the peppers. When peppers are done, remove with a slotted spoon.
6. In a large casserole dish, add about 1 c. spicy marinara sauce to the bottom of the dish and spread out with a spoon.
7. Place peppers, open side up in a single layer in the casserole dish. Fill each pepper with 1-2 Tbsp of the turkey mixture. Sprinkle a little bit of cheese over each pepper. (Note: I only had 1 pint of peppers, so that is what I have pictured. I just mixed the remaining meat sauce with some rice noodles, but would have made the 2 pints of peppers if I had them!)
8. Bake at 400 degrees for about 15 minutes, or until cheese is melted and peppers are soft.
9. Enjoy!! :)
This was one of the best quiches I have ever eaten :)! I am not the best baker, but this dough was easy to make, and not hard to screw up, ha! Doesn't take long to make, and is super delicious!
Spinach Quiche
(serves 6-8)
Whole Wheat Pie Crust:
1 3/4 c. whole wheat pastry flour
1/2 tsp sea salt
1/2 c. cold organic butter
4 Tbsp ice water
Ingredients:
Whole Wheat Pie Crust (see recipe above)
1 Tbsp dijon mustard
10 oz package of frozen organic spinach (thawed)
2 c. shredded organic cheese (I used monetery jack)
1 c. organic or raw milk
4 eggs
1/4 tsp sea salt
1/4 tsp cayenne pepper
1/4 tsp black pepper
Directions:
1. Preheat oven to 425 degrees. Begin by preparing the whole wheat pie crust. Blend the flour, salt, and butter (make sure it is very cold) in a food processor or pastry blender until well mixed. Add the water 1 Tbsp at a time until the dough is crumbly.
2. Gather the dough together with your hands and shape into a ball, but don't handle too much.
3. Roll out the dough between wax paper or saran wrap with a rolling pin, until a large circle.
4. Place the dough in a pie pan and press down onto the sides. Trim off any excess dough. Cook crust in a 425 degree oven for 8 minutes.
5. Spread honey mustard in the bottom of pie crust. Sprinkle in spinach and cheese. (Note: if you haven't pre-thawed the spinach, just rinse it under warm water and drain, repeating a couple times until thawed. Then, make sure to dry well with a towel).
6. In a medium bowl, whisk together eggs, milk, and seasonings. Pour egg mixture over spinach and cheese.
7. Bake quiche at 375 degrees for 40-45 minutes, or until a knife inserted in the center comes out clean. Let cool 5-10 minutes before slicing.
8. Enjoy!! :)
We tried raw cow's milk for the first time last week! If you can find a reputable distributor for raw milk in your state, I highly recommend it. Raw cow or goat's milk has countless healthy benefits, however, when the milk is pasteurized and homogenized most of the healthful enzymes and vitamins are destroyed. Pasteurization began many years ago when there were cases of bacteria-related illness and death linked to consumption of tainted milk. As a result, pasteurization began and has continued ever since. As long as the farmer is taking good care of the animals and allowing them to graze on green grass, raw milk presents no harm to us and is actually very beneficial to our health. Note: only 2 deaths total have occurred from consumption of raw milk since 1998, where an estimated 140 deaths per year occur and are linked to dairy consumption (wwwnc.cdc.gov).
Both my husband and I love the raw cow's milk, and find very little difference in taste from the pasteurized milk we have drank for years. We both actually like it much more. If you are still uncomfortable with buying raw milk, Green Bean Delivery (www.greanbeandelivery.com), where I have started buying a good deal of produce and some groceries, and comes straight to your door, sells a low-temperature pasteurized, non-homogenized milk. This is a great alternative to anyone who cannot buy raw milk in their state or is not ready for completely raw milk.
Anyway, from my leftover raw milk, I adapted the recipe from "Nourishing Traditions" to make whey and cream cheese. Whey is packed full of vitamins and cultures that are great for your stomach and your body. Whey can be added to many dishes. I will post one next week where I add it in, so you can get an idea!
Whey & Cream Cheese
What you will need:
raw or non-homogonized milk
cheesecloth or dish towel
bowl
Process:
1. You can use fresh milk for this or milk that has just turned sour. I wouldn't recommend using milk that has been sour more than a few days, but it's up to you. My raw milk had just turned sour, so I used whatever I had left in my jar.
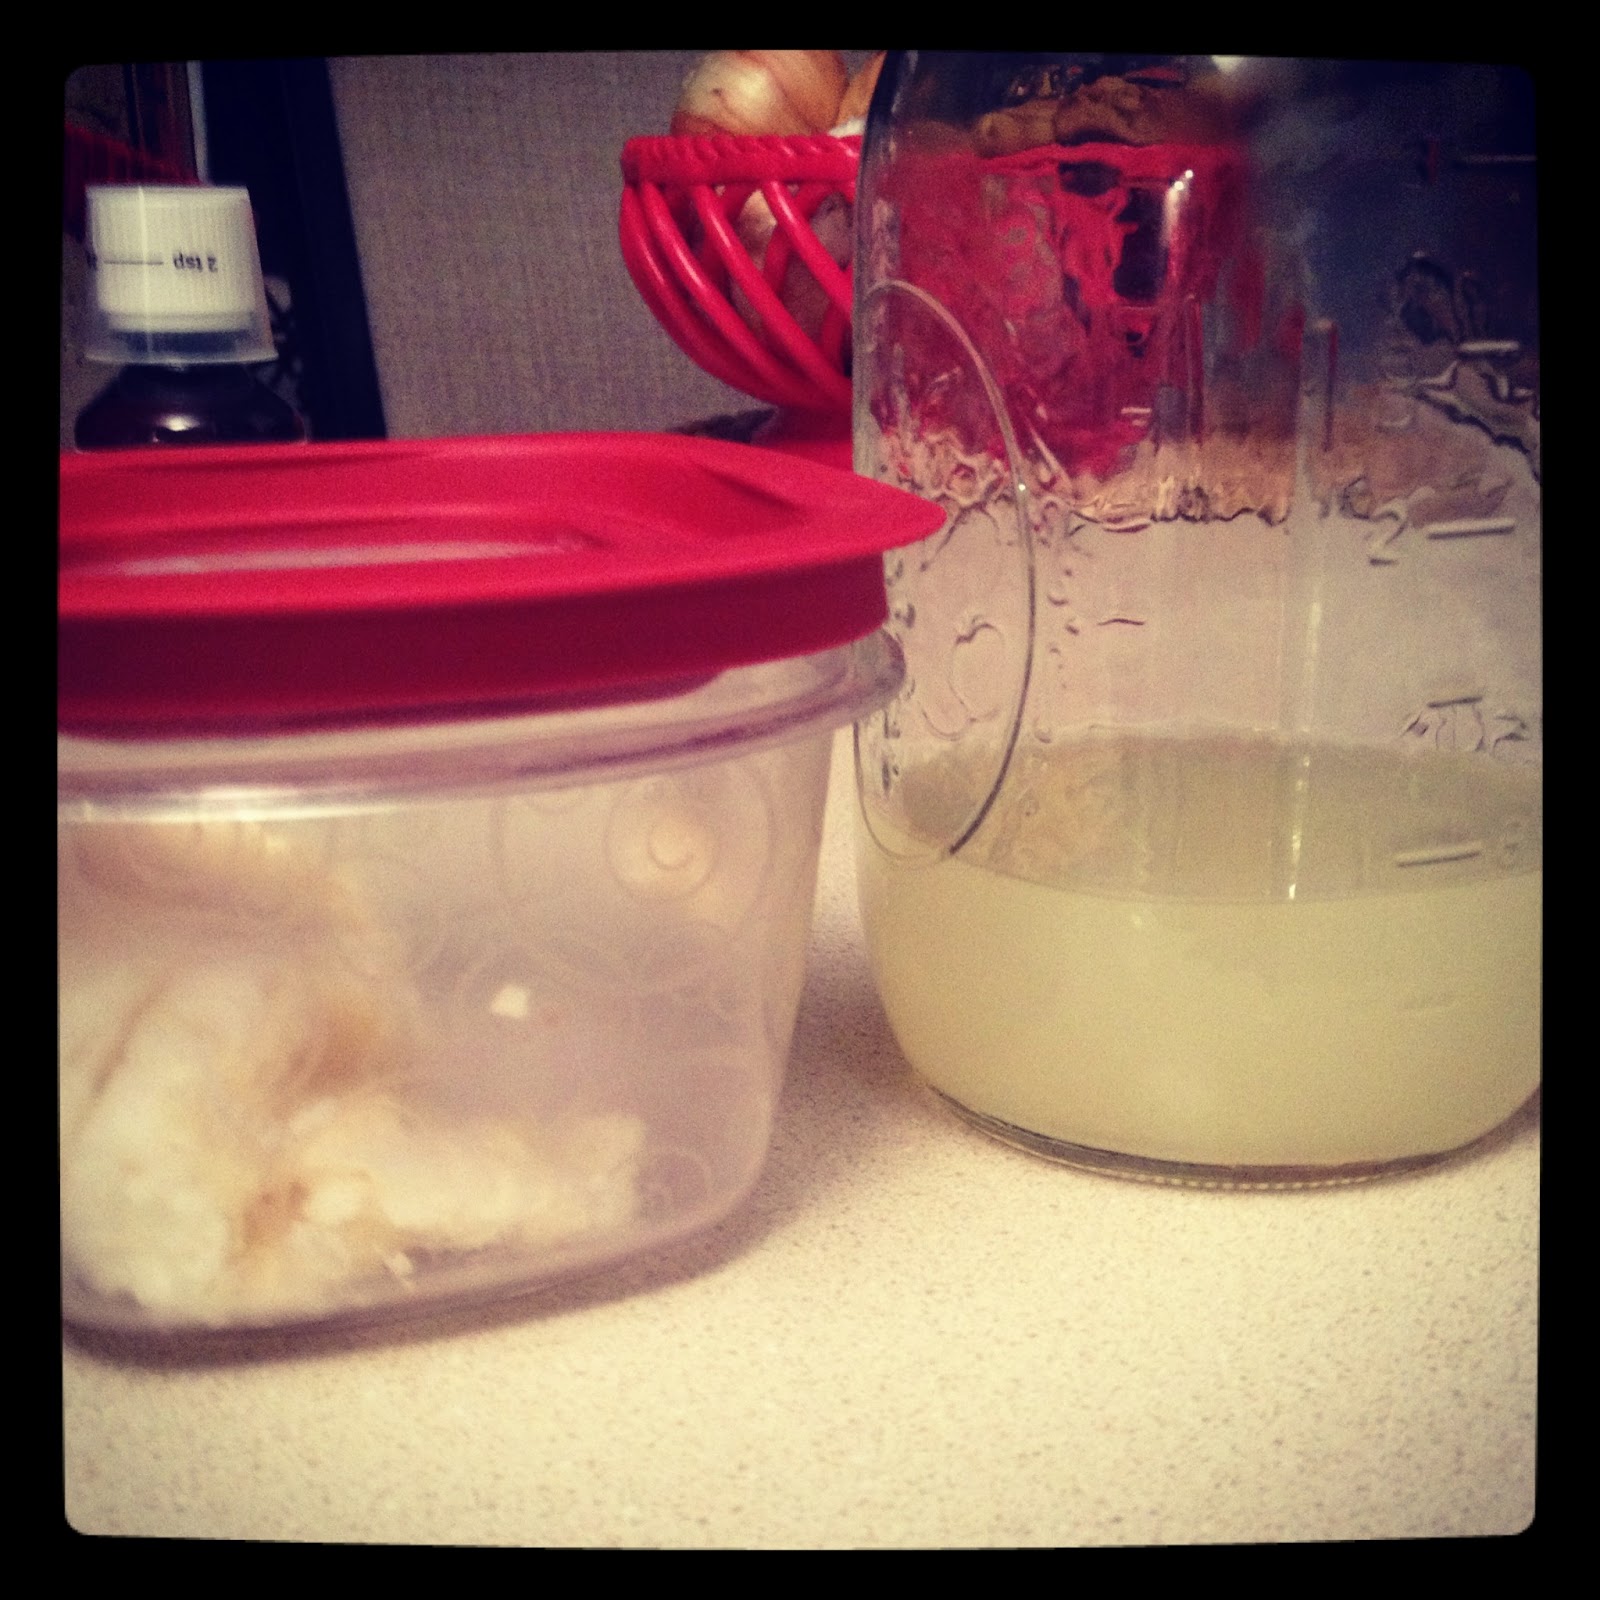
2. Place the milk on the counter for 2-4 days, or until the solids pull away from the liquid (see picture). I waited about 4 days.
3. Now, using a glass bowl or pitcher and a dish towel or cheesecloth, pour the milk into the dish towl draped over the bowl. The liquid (Whey) will drain out of the towel into the bowl. Leave the mixture like this on the counter for several hours so all the liquid can drain out of the cream cheese.
4. As this process was adapted from "Nourishing Traditions," I will tell you they recommended using a fine strainer in between the dish towel and bowl. They also suggested tying the dish towel to a wooden spoon to allow for more whey to strain out of the cream cheese. It is up to you, but I did not need these extra steps. It may have been because I waited the full 4 days for them to separate.
5. You can store the whey in a mason jar in the refrigerator for up to 4 months. The cream cheese is supposed to keep for about 1 month in the refrigerator in a covered container. I added a little sea salt to the cream cheese and ate it with some crackers. It would be great with some herbs. Note: This cream cheese is going to be different from what you buy at the store. Mine tasted a little bit like an aged cheese, but it was great!
Enjoy :)
Sorry it has been a little bit since I have posted some recipes for you all! I have been very busy, but don't worry, I will be posting a lot this week :). This morning I was super hungry and wanted to use up my ripe bananas! These are easy to make, filling, and full of protein. I adapted this recipe from "Healthy Treasures" cookbook. Make them soon!!
Power Packed Pancakes
(serves 4 - makes 6 to 8 pancakes)
Ingredients:
1 egg
1 c. milk
1 Tbsp. coconut oil, melted
3 Tbsp. wheat germ
3/4 c. whole wheat pastry flour
1/2 tsp sea salt
1 tsp. baking powder
3 Tbsp. protein powder
1 ripe banana, or other fruit
chocolate chips or blueberries (optional)
Directions:
1. Mix egg, milk, and melted coconut oil together in a small bowl.
2. In a separate bowl, mix together wheat germ, flour, salt, protein powder, and baking powder.
3. Combine wet and dry ingredients together, mixing slowly with a spoon or whisk.
4. Mash the banana with a fork and mix into the rest of the ingredients. Let the mixture sit for 10-30 minutes to let the flour soak.
5. Heat a skillet or flat griddle to medium heat (350 degrees on the griddle).
6. Pour 1/3 c. - 1/2 c. of batter onto griddle or skillet and cook about 2 minutes per side, or until cooked through and browned on the outside. If desired, add chocolate chips or blueberries to pancakes while cooking the first side., before flipping.
7. Serve with some real maple syrup, butter, whipped cream, or whatever you desire :)
8. Enjoy! :)
This recipe came from my mom. She likes to thread this chicken onto skewers with some pineapple, but you can also just through the chicken straight on the grill. I find that I can never have enough variety of chicken dishes, especially ones to throw on the grill in the summer. Enjoy!! :)
Hawaiian Chicken
(serves 4)
Ingredients:
1 lb. boneless, skinless chicken breasts (sliced thinly)
1/4 c. apple cider vinegar
1/3 c. organic sugar or honey
1/2 tsp black pepper
1 tsp minced garlic
1/4 c. dry sherry
1/4 c. Bragg's liquid aminos (or low sodium soy sauce)
Directions:
1. Mix all ingredients, except for the chicken, together in a small bowl. Take chicken breasts and slice down the middle so the chicken breasts are 1/4" thickness or less (sometimes you can find it already sliced for you).
2. Combine marinade and chicken together in a glass bowl or large ziploc bag. Refrigerate for 12-24 hours to marinate.
3. Thread chicken onto skewers with pineapple, if desired. Place chicken on a heated grill to 350 degrees.
4. Cook for about 10-12 minutes, or until cooked through.
5. Enjoy :)