Many of my readers are looking for gluten-free recipes, so I decided to revisit my Spinach Quiche recipe and make it with a coconut flour crust. This quiche is very light and tasty and I hope you like it! Note: If you don't care for spinach, most other vegetables would work just as well in this recipe or some sausage or bacon as well.
Gluten-Free Spinach Quiche
(serves 6)
Coconut Flour Crust:
2 large eggs
1/2 c. coconut oil
1/2 tsp sea salt
3/4 c. coconut flour
Ingredients:
Coconut Flour Crust (see recipe above)
1 Tbsp dijon mustard
10 oz package of frozen organic spinach (thawed) or fresh spinach
2 c. shredded organic cheese
1 c. organic or raw milk
4 large eggs
1/4 tsp sea salt
1/4 tsp cayenne pepper
1/4 tsp black pepper
Directions:
1. Prepare coconut flour crust first. Preheat oven to 350 degrees. Melt coconut oil and allow to cool slightly.
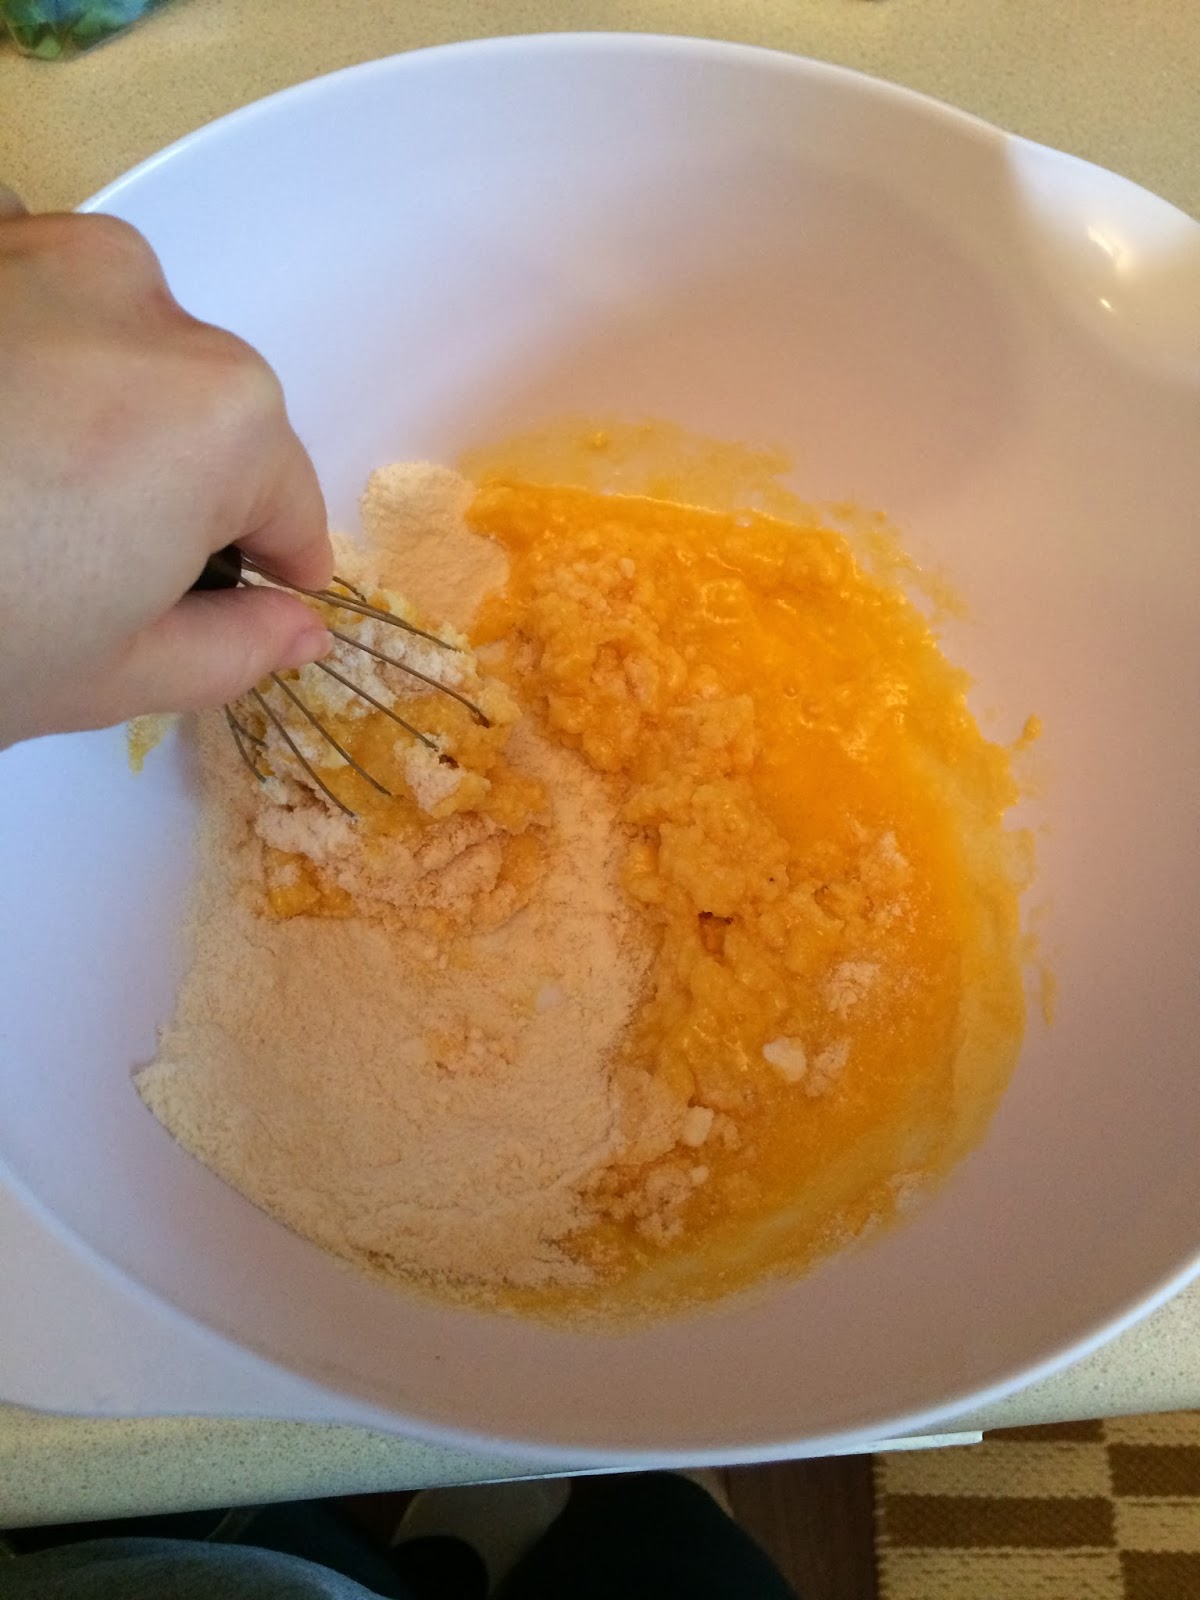
2. Beat together 2 large eggs and add to coconut oil. Add in coconut flour and sea salt and mix until it forms a dough.
3. Using some more coconut oil, grease the pie plate. Add in the dough and using your hands, press onto the bottom and up the sides of the plate to form a crust.
4. Poke holes all over the crust to allow the air to flow underneath. Bake in the oven for about 10 minutes.
6. Spread honey mustard in the bottom of pie crust. Sprinkle in spinach and cheese.
7. In a medium bowl, whisk together eggs, milk, and seasonings. Pour egg mixture over spinach and cheese.
8. Bake quiche at 375 degrees for 40-45 minutes, or until a knife inserted in the center comes out clean. Let cool 5-10 minutes before slicing.
9. Enjoy!!


.JPG)
.JPG)
.JPG)

.JPG)
No comments:
Post a Comment