Sunday, September 15, 2013

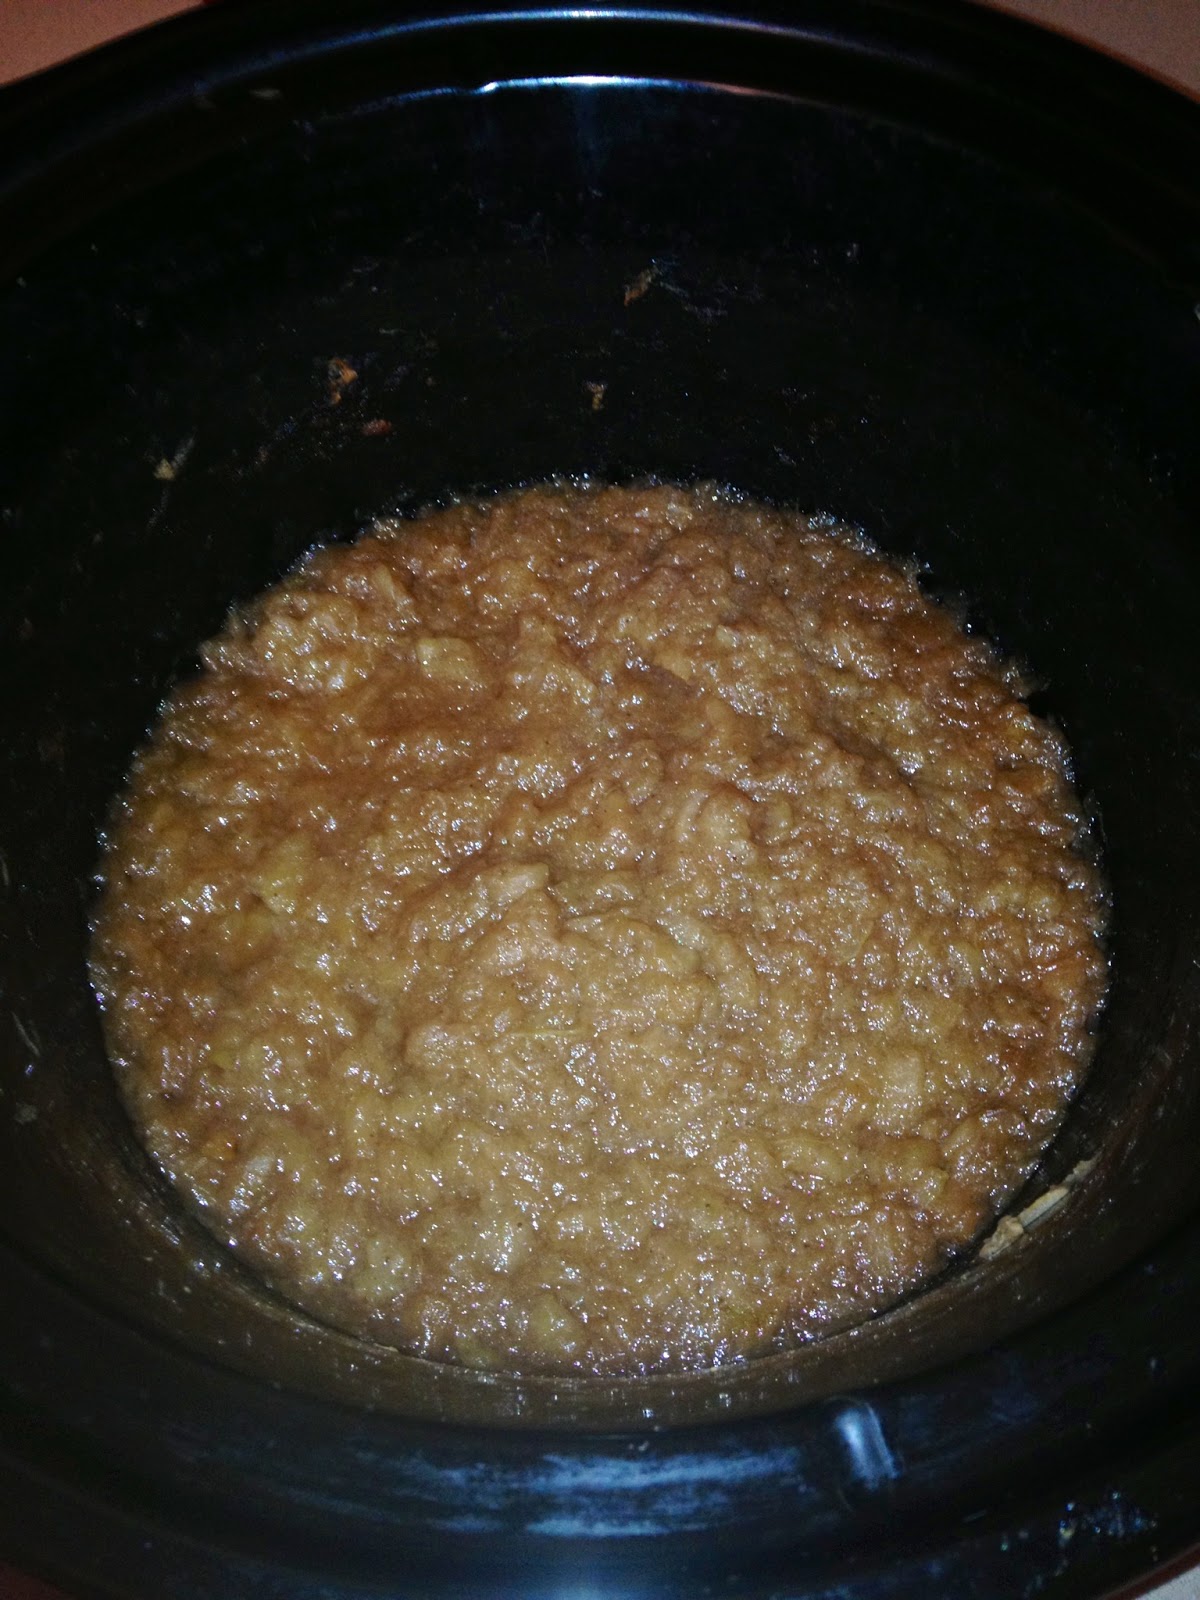
Organic Unsweetened Cinnamon & Clove Crockpot Applesauce

I bought a bunch of organic apples from Green Bean Delivery and, like last year, I wanted to make and freeze some applesauce to use throughout the year. However, my task this year was to make unsweetened applesauce. Apples are naturally sweet and there is no need to add all that sugar to what can be a nutritious side dish! I got the idea for the cinnamon and clove seasoning from The Elliott Homestead.

I like to keep my applesauce a little chunky at the end, but if you prefer it smooth or have small children you want to make it for, you can throw the finished product trough the blender to purée it. 

The apple sauce was plenty sweet naturally and so delicious! Hope you try it!

Note: I also tried this with 1/2 pears, 1/2 apples and it was delicious as well!

Organic Unsweetened Cinnamon & Clove Crockpot Applesauce
(makes about 1 1/2 quarts)

Ingredients:
12-15 large organic apples (more or less depending on the sizes you have)
1 whole cinnamon stick
1 tsp ground clove
Juice from 1/2 a lemon (about 1 Tbsp)

Directions:
1. Wash, peel, and core all of your apples. 

2. Cut the apples into bite-sized pieces (about 1-2" chunks), and add to the slow cooker. 


3. Add in the lemon juice, ground clove, and cinnamon stick to the slow cooker and stir around to evenly coat the apples.


4. Turn the slow cooker on low and let simmer for 4-6 hours. Every 1/2 hour to hour, use a potato masher to smash up some of the apples and release more of their juices.  It is done when it had reached the consistency and taste you like. 


5. It's that easy! Enjoy!!

Tuesday, September 10, 2013

Sweet Potato Brownies

I promise you will absolutely love these brownies! They are better than those white-sugar processed brownies and you won't feel guilty eating them! Try them! These are adapted from paleomg.com.


Sweet Potato Brownies


Ingredients:
1 small sweet potato
1/4 c. Coconut oil
3 eggs
1/3 c. Raw honey
1/4 tsp vanilla
3 Tbsp coconut flour
2 Tbsp unsweetened cocoa (we like Dagoba)
1/4 tsp baking powder
Pinch of salt
1/4 tsp cinnamon
1/2 c. Mini chocolate chips (we like Enjoy Life and they are dairy, nut, and soy free)

Directions:
1. Wash the sweet potato and poke a few holes in it with a fork. Wrap it in a small piece of foil and cook it in a 425 degree oven for about 25 minutes, or until it feels soft or a fork easily pokes through it.

2. Allow the sweet potato to cool. Once it is cool enough to handle, remove the skin and place the potato in a large bowl.

3. Mash the sweet potato well with a fork.


4. Melt the coconut oil on the stovetop or in the microwave.

5. Whisk together the 3 eggs in a small bowl and then add in the honey, coconut oil, and vanilla, whisking to combine.


6. Add the egg mixture to the sweet potato and whisk until smooth, without lumps.


7. Add in the remaining ingredients (except the chocolate chips) one at a time, using the whisk to incorporate each while keeping the batter smooth.

8. Fold in the chocolate chips.


9. Using some coconut oil on a paper towel, grease a small square baker (8x8 works well) and add the batter to the baker.


10. Bake in a 350 degree oven for about 35 minutes, or until a toothpick comes out clean. 

11. Allow the brownies to cool so they can setup well. Enjoy!!


Monday, September 9, 2013

Copycat Kind Bars (GF and Paleo)

These bars are similar to the Kind protein bars you can buy at the store. Personally, I get tired of paying so much for my protein bars and when I make my own at home I know exactly what is going into them. I also notice a big difference between the nuts since I soak and dehydrate ours for better digestability. These are very tasty and I love the fresh orange taste from the orange zest. This recipe is adapted from primalbitesblog.com.

The best part is, these are Paleo and grain-free. Hope you try them out!

Copycat Kind Bars
(Makes about 12)


Ingredients:
1/2 c. Raw pecans (soaked and dehydrated is best)
1 c. Raw almonds (soaked and dehydrated is best)
2/3 c. Raw pumpkin seeds (soaked and dehydrated is best)
2/3 c. Raw sunflower seeds (soaked and dehydrated is best)
3 Tbsp Sesame seeds
1/3 c. Raisins
3 Tbsp Chia seeds
1/2 Tbsp Orange zest (from about one orange)
1/2 c. Shredded unsweetened coconut
2 Tbsp Coconut oil
1/2 c. Raw honey

Directions:
1. Preheat oven to 350 degrees. 

2. Roughly chop the pecans and almonds in a food processor or by hand.


3. Zest one orange. Mix together the orange zest, nuts, coconut, seeds, and raisins in a big bowl.

4. Melt the coconut oil on the stove or in the microwave in a small bowl. Then add the honey and mix well.

5. Add the coconut oil mixture to the nut/seed mixture and stir well until everything is coated.


6. Line a cookie sheet with sides or shallow dish with parchment paper (if you have a smaller dish like 12x12 or something similar, the bars will stay together better because you can squish them in the dish really well). Add the mixture to the dish and smooth out really well.


7. Cook bars in a 350 degree oven for about 15 minutes, or until lightly browned.

8. Allow to cool and then transfer to the refrigerator for at least an hour to harden. 

9. Cut into desired sizes and you can wrap them each separately to grab on the go. (I put a small piece of parchment paper on the bottom and then wrapped them in plastic wrap). You can store in the refrigerator to keep them together better or in the pantry. Enjoy!!


Tuesday, September 3, 2013

Everything Cookies

These cookies are adapted from a recipe on TheElliottHomestead.  There are tons of healthy ingredients in these cookies and they are quick to make.  You can edit the extras in these cookies to conform to your unique tastes! Try them soon :)!

Everything Cookies


Ingredients:
1 c. almonds
1 c. unsweetened coconut flakes
1 tsp cinnamon
Pinch of sea salt
1/2 c. ground flaxseed
1/3 c. maple syrup or honey
1 egg
1 tsp vanilla
2 Tbsp coconut oil
Optional extras: add at least 1 c. of extras, depending on your tastes. These can be chopped nuts, chia seeds, dried fruit, cacoa nibs, or mini chocolate chips.  (I like to use chia seeds, raisins, chopped dates, and Enjoy Life chocolate chips).

Directions:
1. In a food processor, grind up almonds into fine pieces. 


2. Mix together dry ingredients in a large bowl: ground almonds, coconut flakes, ground flaxseed, cinnamon, and sea salt.


3. Melt the coconut oil in the microwave or in a small saucepan on the stovetop.  Whisk together the melted coconut oil, maple syrup, vanilla, and egg in a small bowl.


4. Fold the wet ingredients into the dry ingredients.  Then, add in the 1 c. of your optional extras and mix together.


5. Line a cookie sheet with parchment paper and place cookies in small mounds on the parchment paper.  Bake the cookies for about 12-14 minutes at 350 degrees until they are lightly browned. 


6. Enjoy!! :)

Monday, September 2, 2013

Amazing Grain-Free Granola

This recipe is adapted from The Urban Poser and was shared with me by my sister-in-law Brittany.  I absolutely love this granola and it is great with milk, yogurt, or how I usually eat it, just by itself.  It has tons of nourishing nuts and seeds in it.  I hope you try it!

Note: with each of the nuts and seeds I explain that I soak and dehydrate them first. This isn't necessary but does help with digestibility, so I always do this with my nuts after I buy them at the store and keep them on-hand already soaked and dehydrated.  Visit my post here to see the method I use.

Amazing Grain-Free Granola
(makes about 2 quarts)


Ingredients:
1 1/2 c. raw walnuts (I soak and dehydrate mine first)
1 1/2 c. raw cashews (I soak and dehydrate mine first)
1 c. raw pecans (I soak and dehydrate mine first)
1/2 c. sunflower seeds (I soak and dehydrate mine first)
1/4 c. raisins
2 tsp cinnamon
1/4 tsp nutmeg
2 medium-sized bananas
1/4 c. raw honey
1/4 c. coconut oil
2 Tbsp water
1 Tbsp pure vanilla extract
Optional: 1/2 c. Banana chips & 1/4 c. mini chocolate Enjoy Life chocolate chips

Directions:
1. Add 1/2 c. walnuts, 3/4 c. cashews, 1/2 c. pecans, and 1/4 c. sunflower seeds to a food processor.  Pulse a few times to chop, but don't make them too small (I like the consistency a little bit larger than shown in the picture below).


2. Take another 1/2 c. walnuts, 3/4 c. cashews, 1/2 c. pecans, and 1/4 c. sunflower seeds and lay out on a cutting board and coarsely chop them.  Combine the two nut mixtures together in a large bowl.


3. Add in the raisins, cinnamon, and nutmeg to the bowl and toss to combine.


4. In the food processor, add in the bananas, honey, coconut oil, water, and vanilla extract and mix until smooth.

5. Fold the banana mixture into the nut mixture until everything is well coated.


6. Spread out on a cookie sheet in a thin layer and cook in a 225 degree oven for about an hour.  Note: the mixture will continue to crisp up a little bit as it cools.


7. After everything has cooled down, mix in the banana chips, 1/2 c. raw walnuts, and 1/4 c. mini chocolate chips, if desired.  We like to keep ours in two quart-sized mason jars and store them in the refrigerator.


8. Enjoy!!

Saturday, August 24, 2013

Chicken Stock

Homemade chicken stock is easy to make and provides many benefits to the gut and intestines to aid in digestion.  It is also said to provide many other benefits including reducing allergies and healing nerves.  And you can't beat the difference in taste from the store varieties. You will never need to buy cartons of chicken stock again!

Homemade Chicken Stock


Ingredients:
Chicken bones from 1 free-range chicken (optional: add in some chicken feet and/or chicken gizzards)
1 large onion, roughly chopped
2 large carrots, roughly chopped
3 large celery stalks, roughly chopped
2 Tbsp apple cider vinegar
4 quarts (or 16 cups) of filtered or spring water
1 bunch of fresh parsley

Directions:
1. After I roast a whole chicken and remove the meat, I use the bones to make chicken stock.  Roughly chop up the vegetables and add them to a large slow cooker.


2. Add in the chicken bones, apple cider vinegar, and as much of the water as will fit in the slow cooker.  


3. Heat the stock on low heat in the slow cooker for at least 12 hours, or as much as 24 hours.  I like to cook it for the full 24 hours to get as much taste and deep chicken stock color as I can.  

4. About 30 minutes before the stock is done, add in the bunch of parsley.

5. When the stock is finished, strain it well.  Pour the reserved stock into mason jars and put the lids on tightly.  Keep the stock in the refrigerator.  If you want, you can also put the stock in jars that can be frozen and freeze them.  This recipe usually makes about 3 quarts.  The chicken bones can be re-used over and over to make more chicken stock until the bones start to disintegrate.


Pickled Cucumbers

After having some recent stomach issues, I finally started making some fermented foods.  Fermented foods provide gut-friendly bacteria and take the place of any kind of probiotic.  If you aren't eating any fermented foods, I would recommend starting or making sure you are keeping your gut safe with probiotics, healthy yogurts, etc.  Fermented foods sounds a little scary and complicated, but it is actually very very easy!  Below are a few variations for making some pickled cucumbers (aka pickles).  Using this type of preservation method, your fermented cucumbers will keep about 1-2 months.  They are great as a side dish for most meals or for a quick snack.  I will show below two different variations (one adapted from The Elliott Homestead and the other adapted from the Nourishing Traditions cookbook.

Tip: There are two methods I have heard of for keeping your pickled cucumbers nice and crispy.  The first is to make sure you use them within 24 hours of picking them.  The other is to put a grape leaf or two in your jar, which is supposed to help keep them crispy as well.

Pickled Cucumbers
(makes about 1 qt)


Ingredients:
4-5 pickling cucumbers or small cucumbers
Filtered or spring water
1-2 Tbsp fresh dill (depends on your taste, I usually use about 1 Tbsp)
1-2 Tbsp sea salt (use 1 Tbsp if using whey, 2 Tbsp if not using whey)
4 Tbsp whey (optional)
Optional: either use 1 Tbsp mustard seeds or use 1 clove of garlic peeled and smashed, 5 peppercorns, and a pinch of red pepper flakes (You could also play around with some other seasonings to your desired taste)
Optional: use a grape leaf or two in the jars to keep them crispy, if available

Directions:
1. Wash out your jar(s) - this recipe will make about 1 quart of pickles.  Also wash your cucumbers and slice to your liking.  I choose to cut them in half or quarters and then make small slices.


2. Put sliced cucumbers in the jar, pushing them down so they are tightly packed in there.


3. In a small bowl, stir together about 1 c. water, salt, dill, and optional seasonings (either the mustard seeds or 1 clove of garlic peeled and smashed with a pinch of red pepper flakes and 5 peppercorns). If using whey or grape leaves, mix this in too. Pour the mixture into the jar(s).  Add a little more water, if needed, so everything is covered with water but does not exceed 1 inch from the top of the jar.


4. Cover the jar(s) tightly and place on the counter to sit at room temperature for about 2-3 days.  After the 2-3 days are up, unscrew the caps to let a little bit of air out of the jar, and then put the lids back on tightly. Place in the refrigerator until ready to use; should keep about 1-2 months.


5. Enjoy!! :)